
Upcycled Tin Can Plant Starters
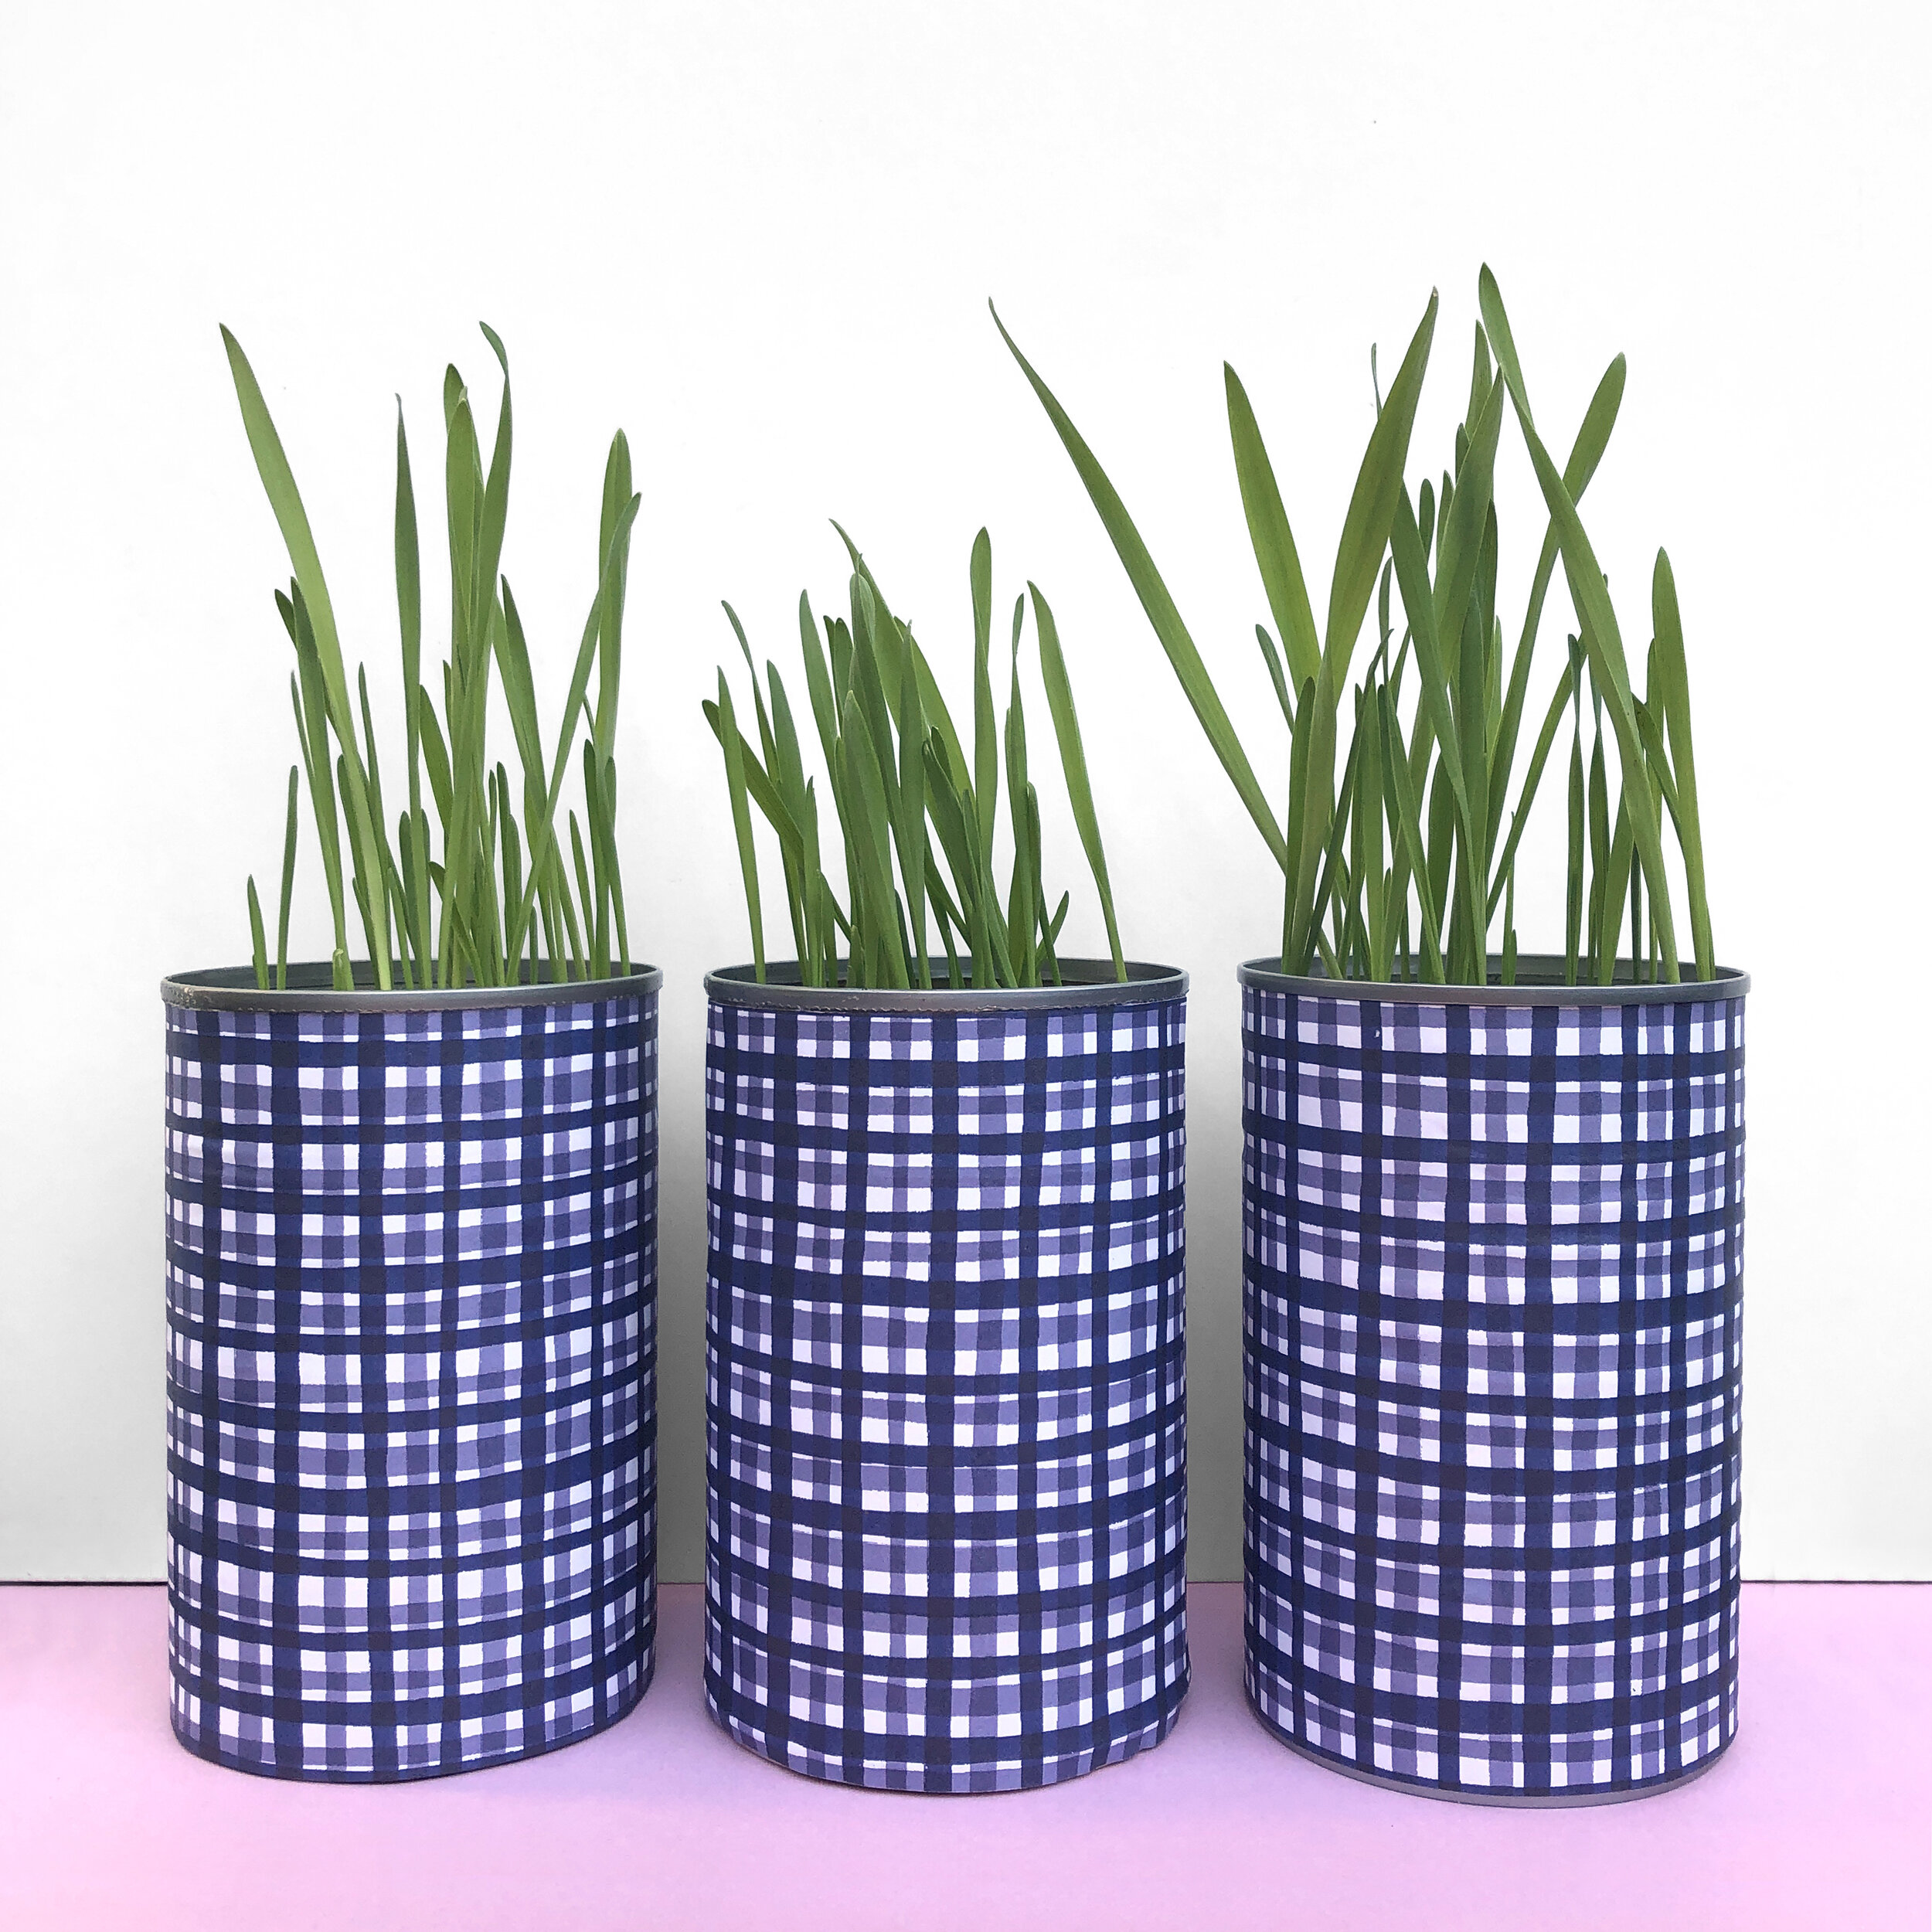
Tin Can Starters
We’ve whipped up a fun activity for your little gardeners that’s easy and can be done with things you likely already have at home.
What better way to utilize your old cans this time of year than for garden starters! If you’re not a master gardener, no worries, you can also plant some cat grass like we did, just to watch it grow. It’s practically fool-proof and perfect for those who are extra eager to see results quickly!
Follow the instructions below to create your own tin can planters!
Here’s what you’ll need:
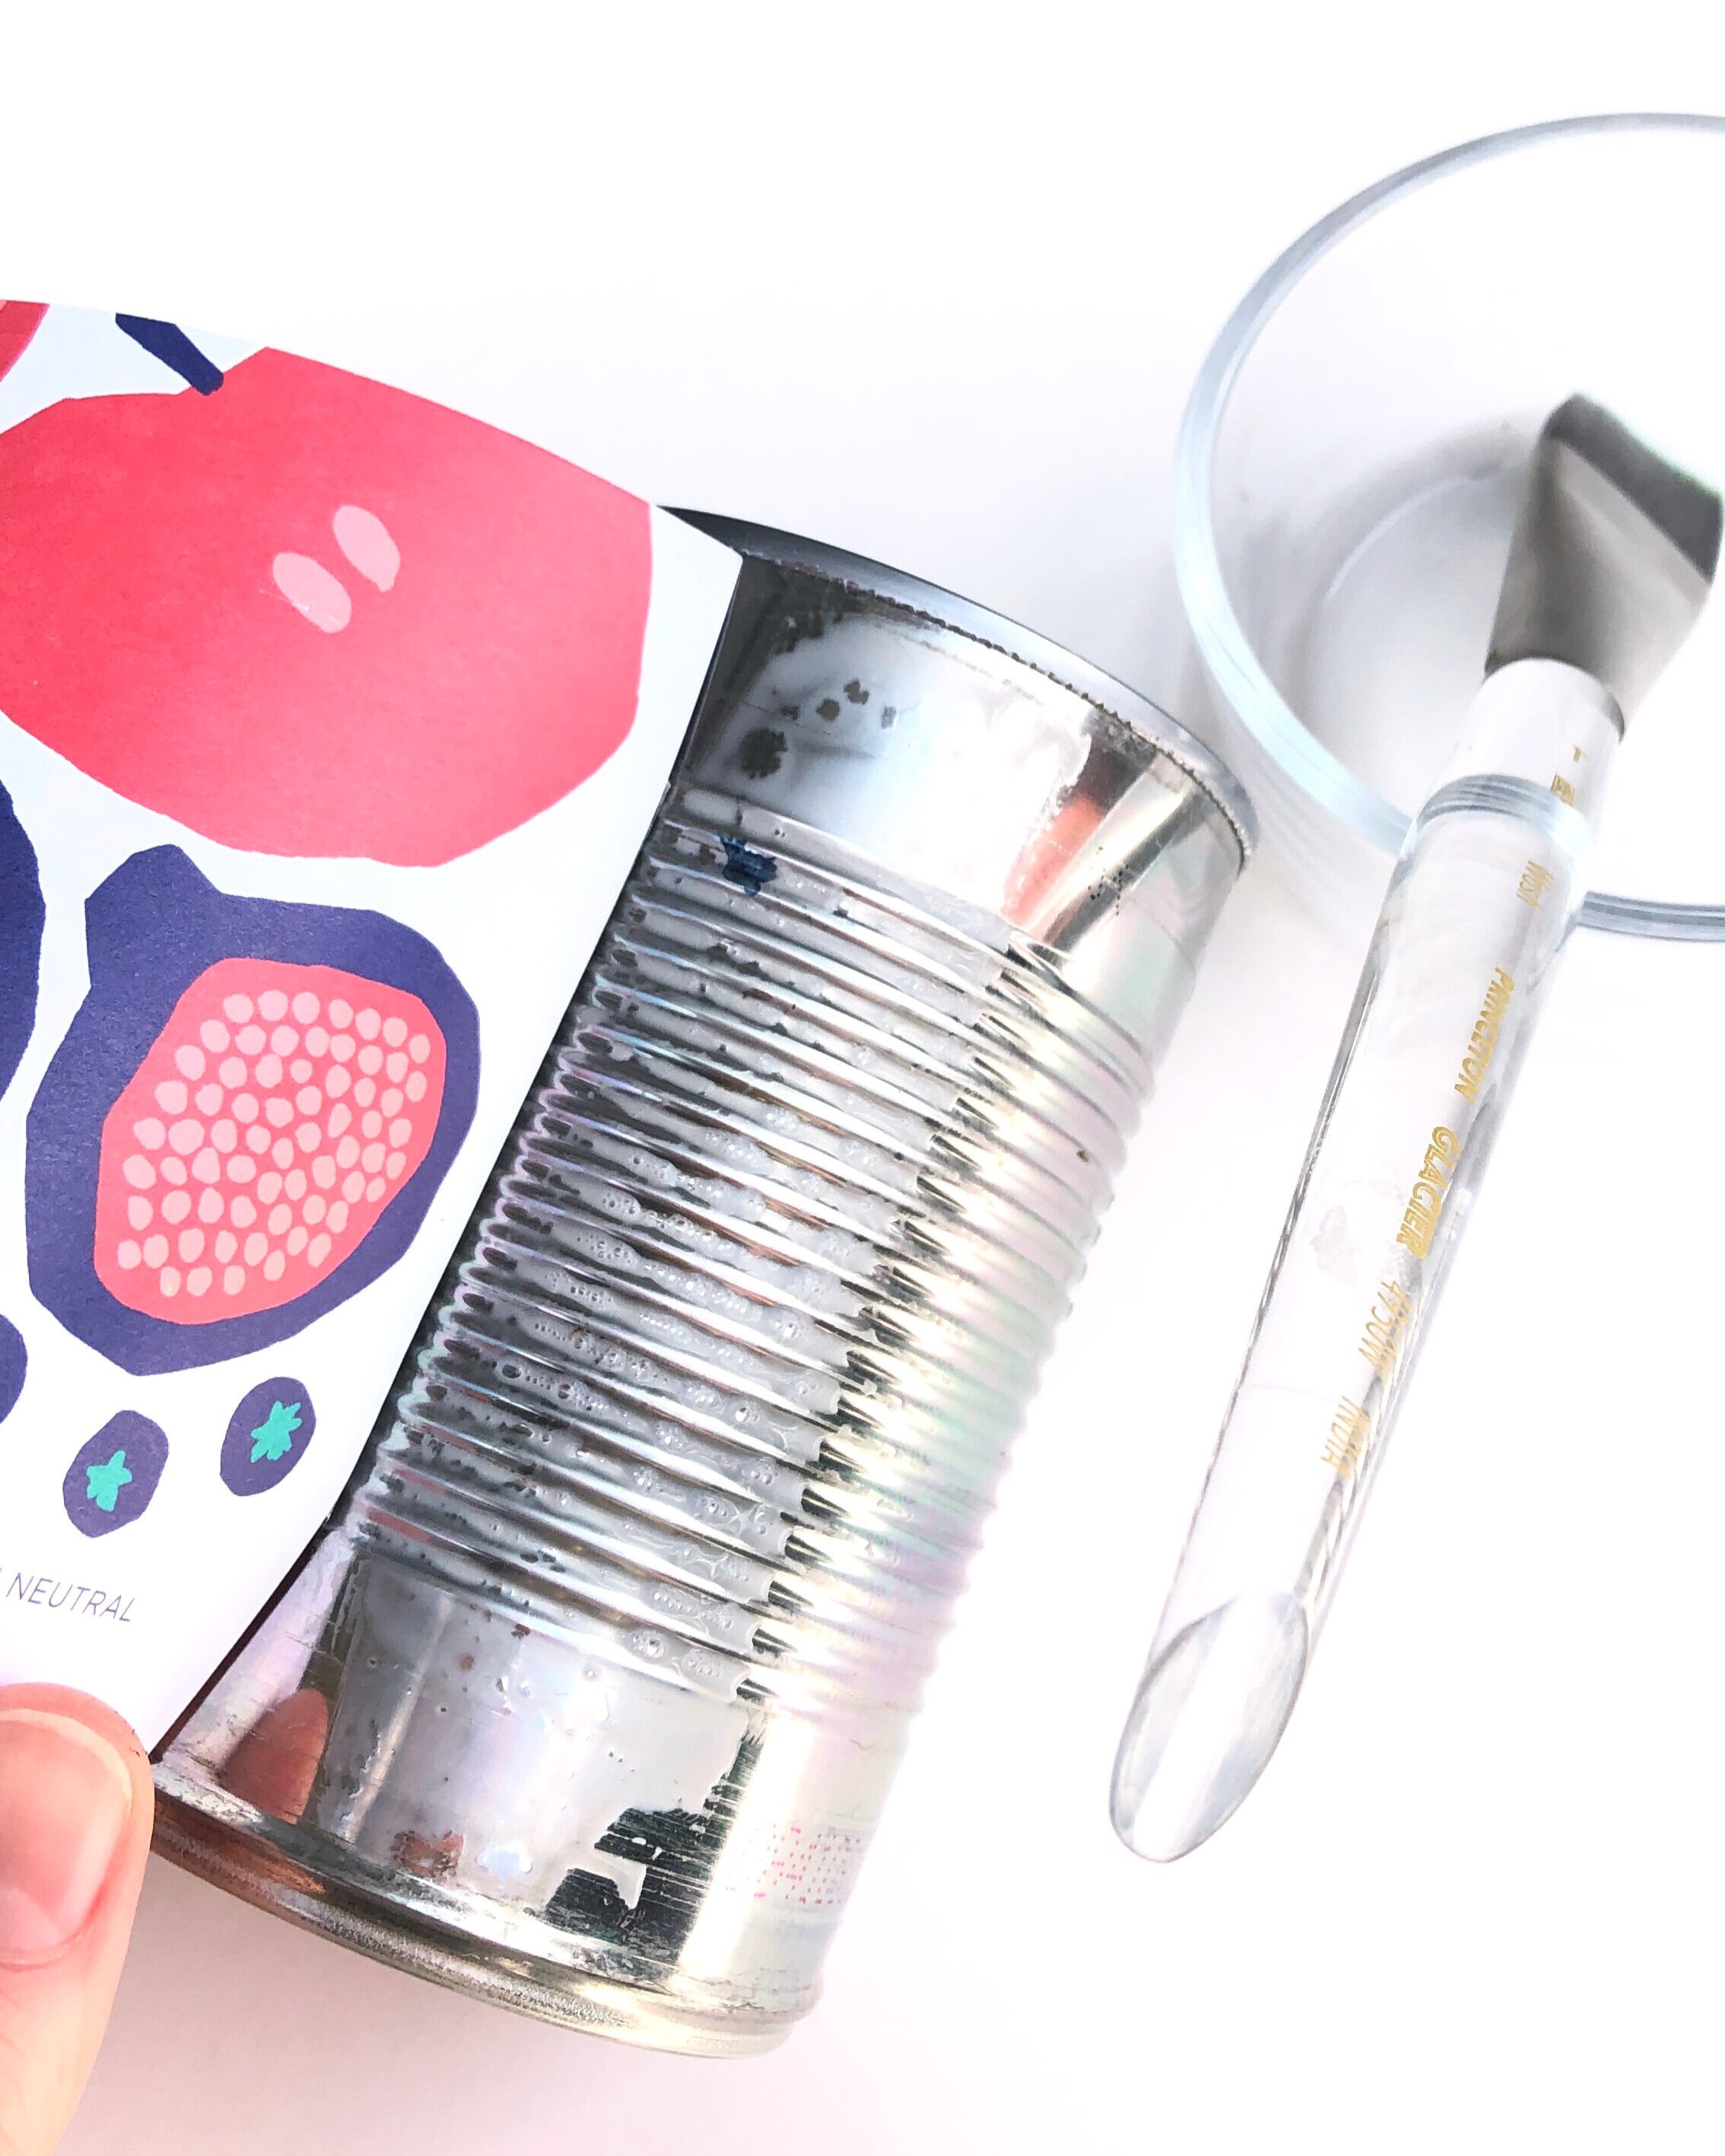
– 14oz tin cans (labels removed)
– Gift wrap (or decorate/color your own paper!)
– Tape
– Glue
– Paintbrush
– Potting Soil (or recommended mixture for your seeds)
– Seeds
How to make it:

1. Cut 10 x 4.25 inch rectangles out of gift wrap or paper. Depending on the size of your can, you may need to adjust slightly. If you want to color your paper, now is a good time to do it!
2. If your plant needs drainage, we recommend creating a few holes in the bottom with a nail and hammer. (This step for adults only please!)

3. Wrap your paper around the tin can. HINT: You can use a little tape to secure your paper to the can while you wrap it.

4. At this point, there are two options for securing your paper to the tin can:
Mix a little bit of Elmer’s glue with a few drops of water to thin out (You won’t need much!). Brush the mixture onto the can, wrapping the paper as you go. Hold for about 30 seconds to make sure everything is secure. Let it dry completely.
OR
Wrap your paper around the can and secure with tape. We like to use colored or washi tap for an extra pop of color.
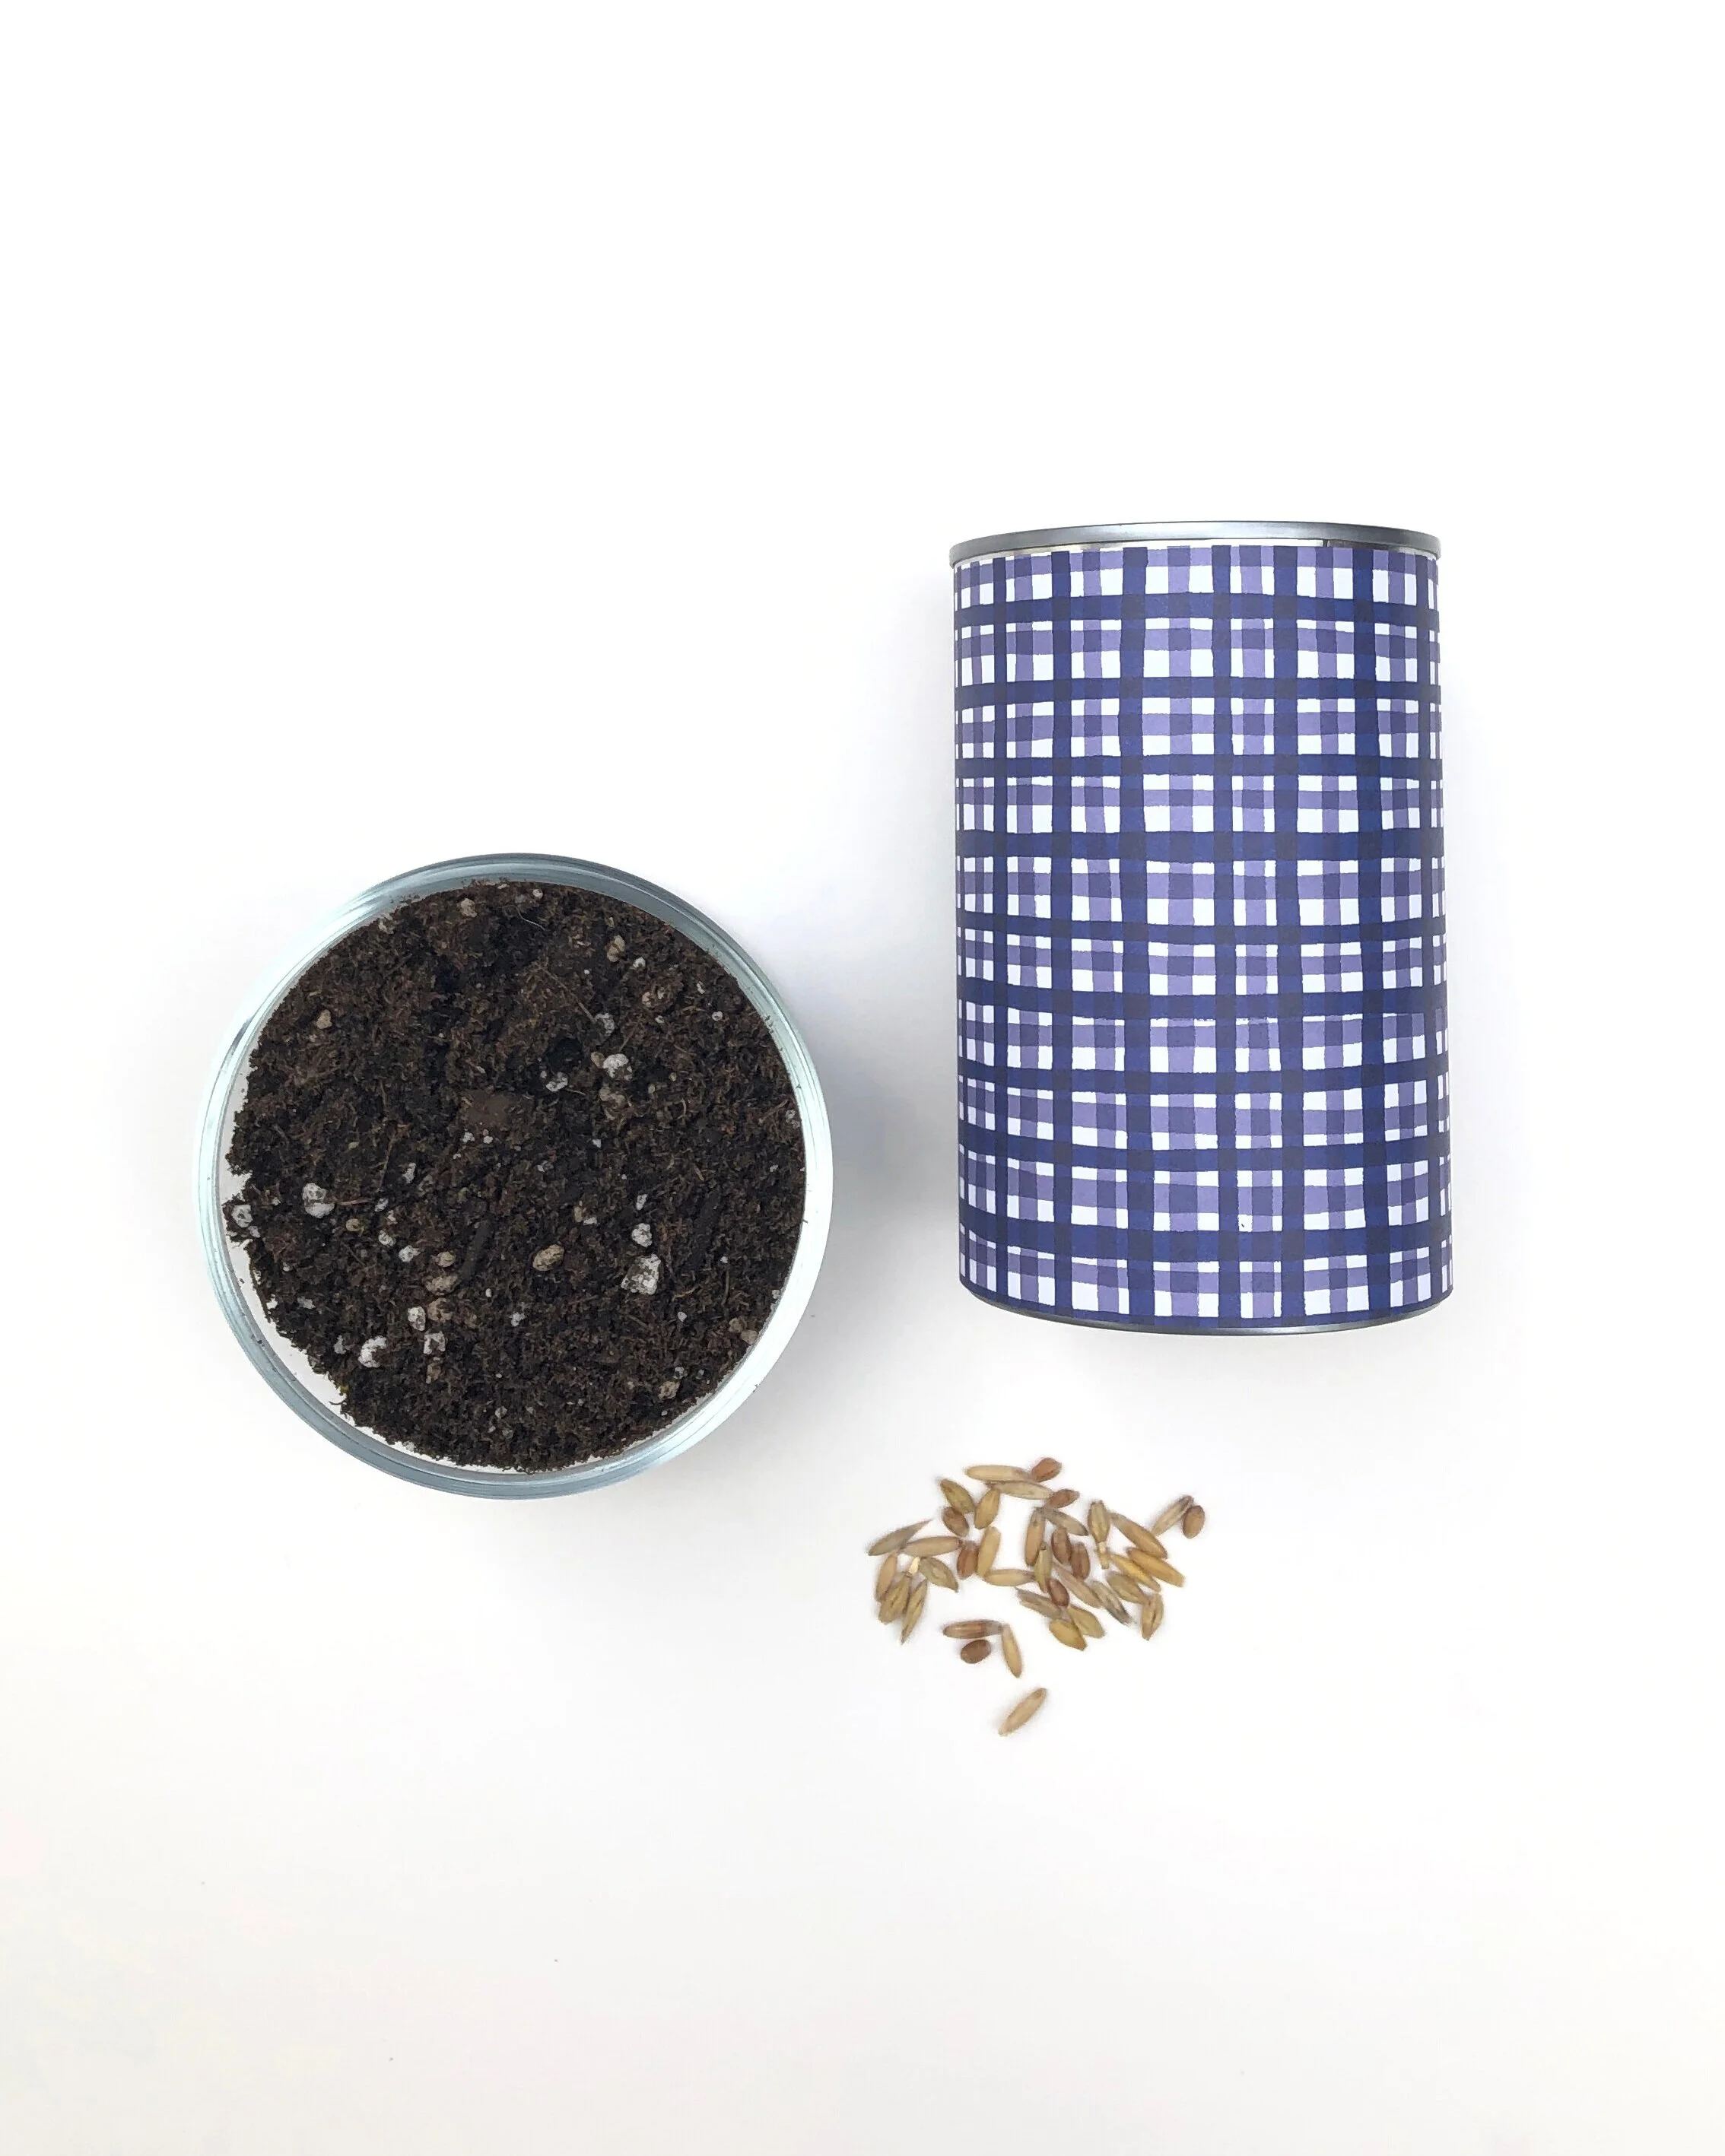
6. Follow planting instructions on your seed packets.

Some of our favorite plants include Nasturtiums, Paperwhites, Ranunculus, and all kinds of succulents! For edible plants, we recommend using these pots as starters (make sure they have drainage!), and then moving them to a larger bed to grow.
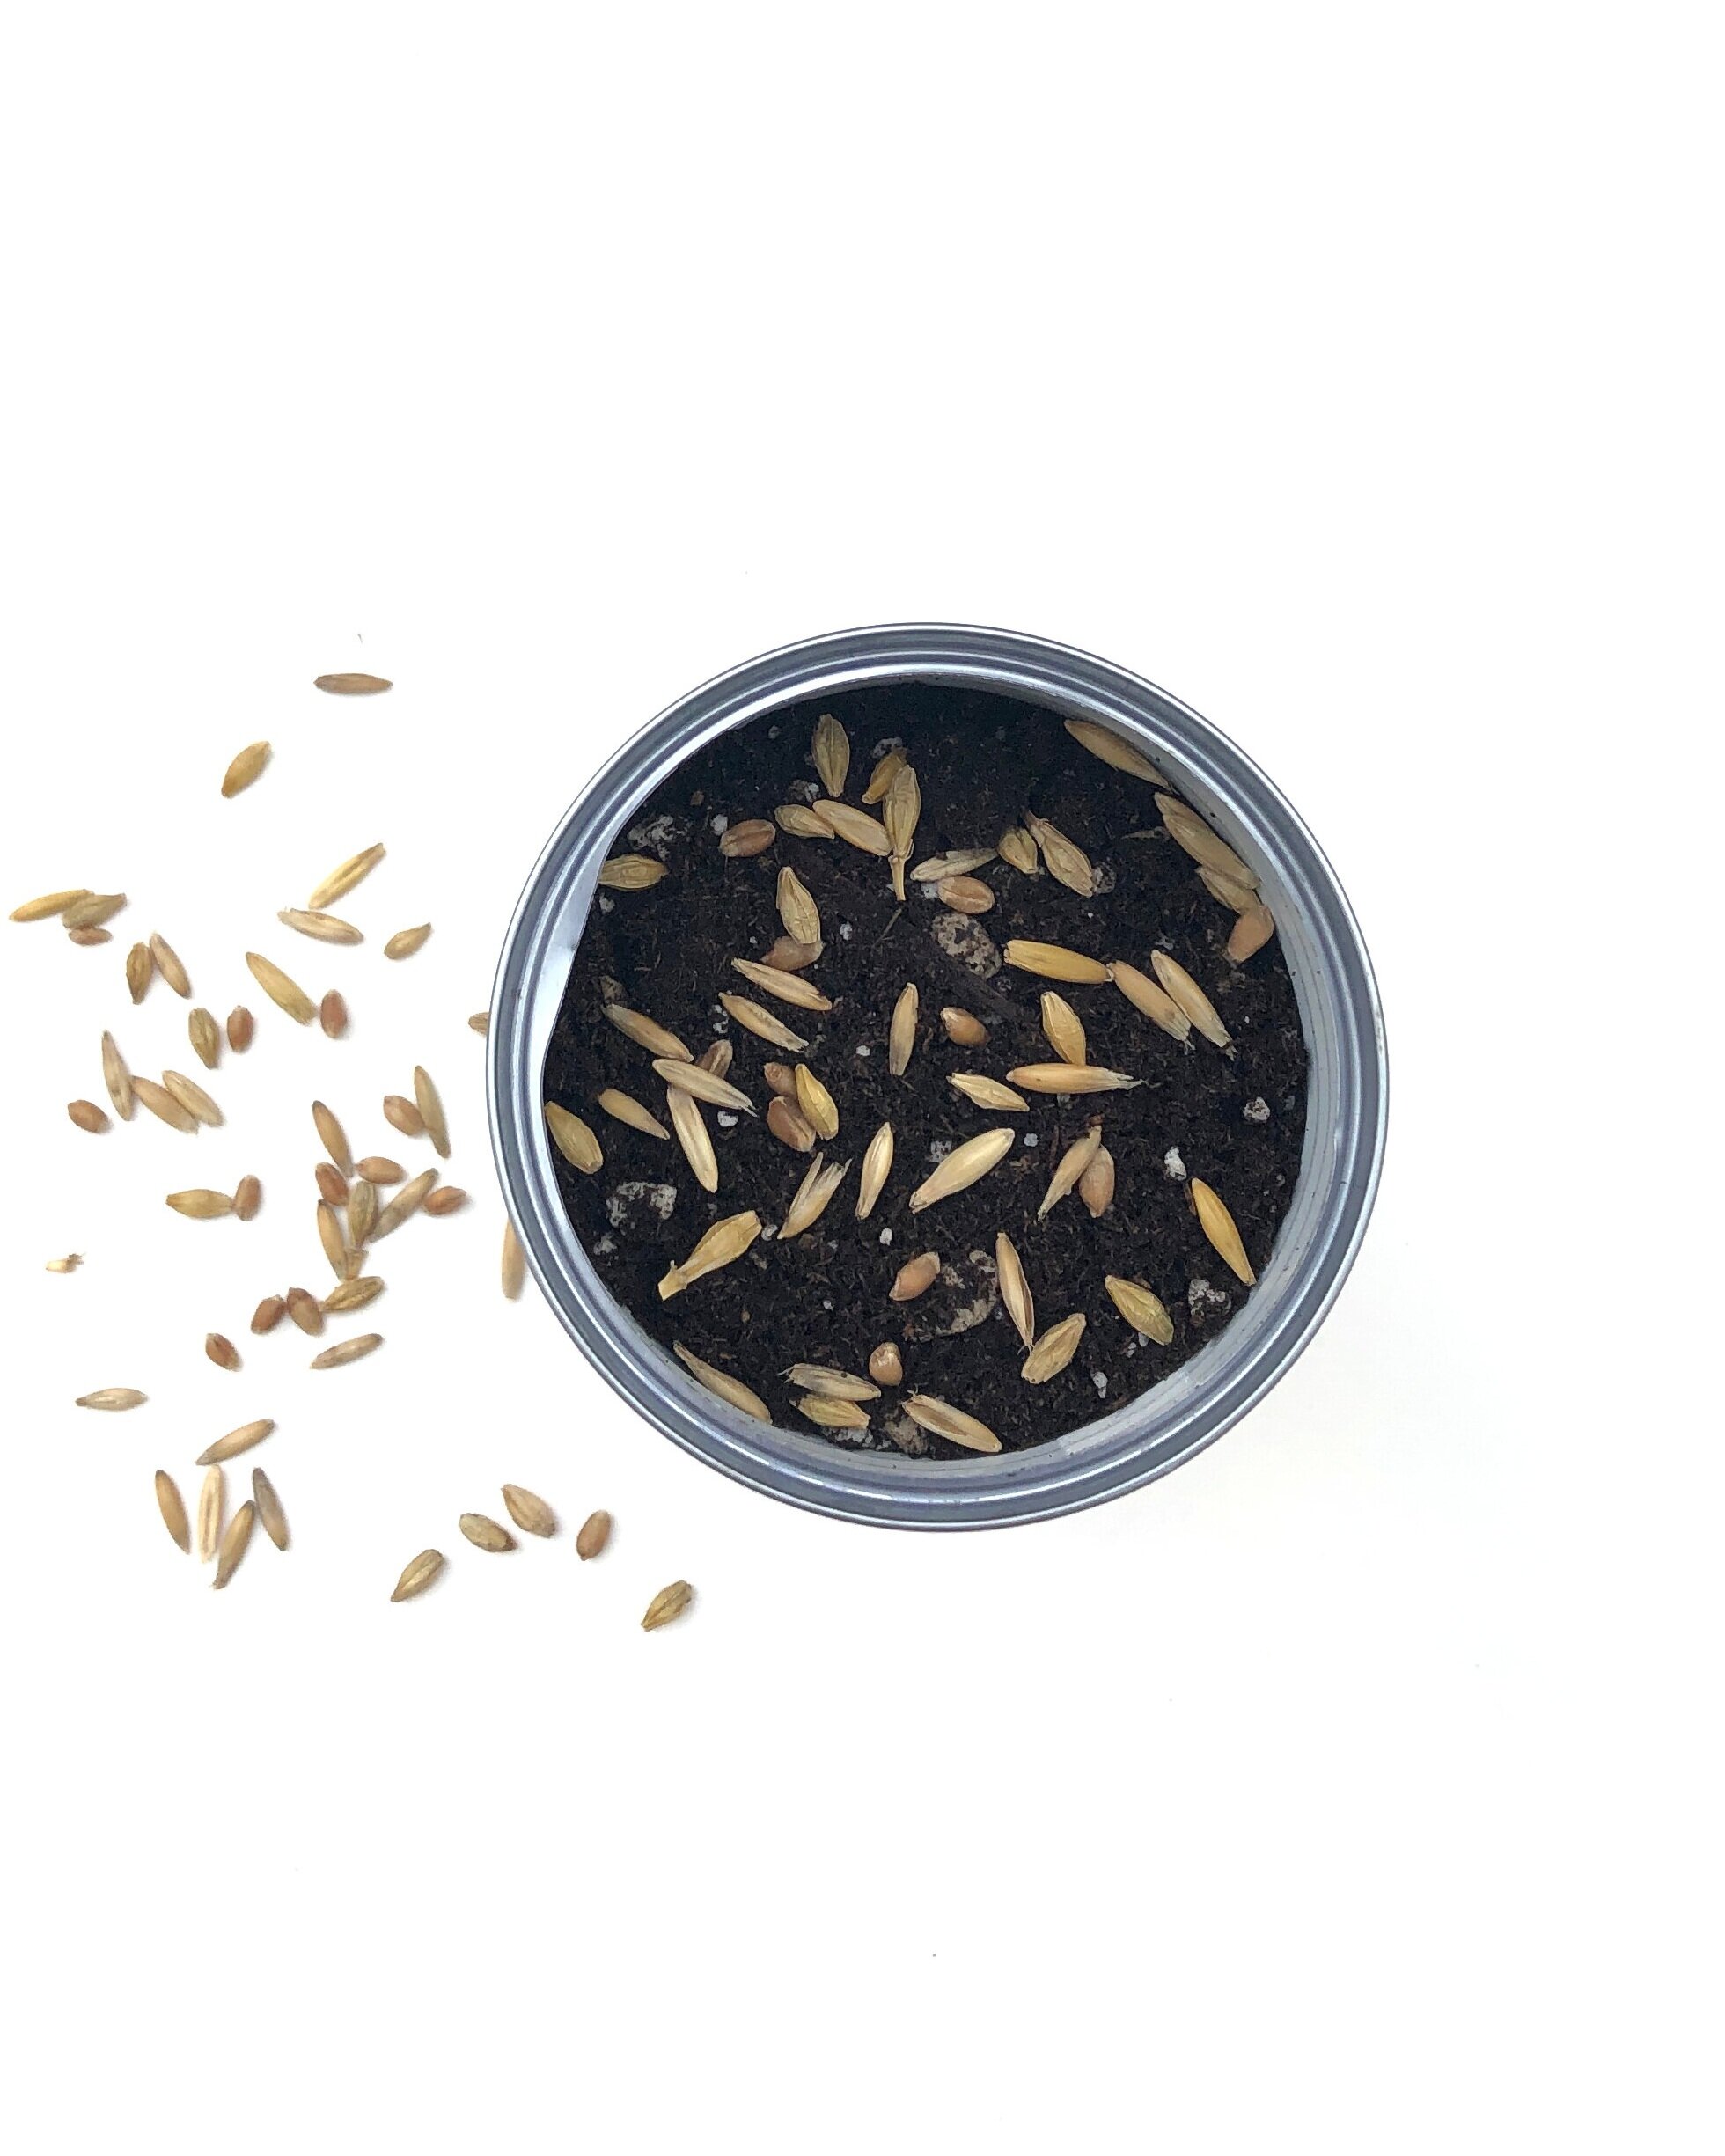

6. Watch your plants grow! (And don’t forget to water them!)
These patterned planters are sure to brighten up your space, and remind you that spring is well on its way!
We can’t wait to see what you create! Tag us on instagram @marchpartygoods with the hashtag #MakeWithMarch or share with us by email at hello@marchpartygoods.com