
DIY Spring Pinwheel Craft
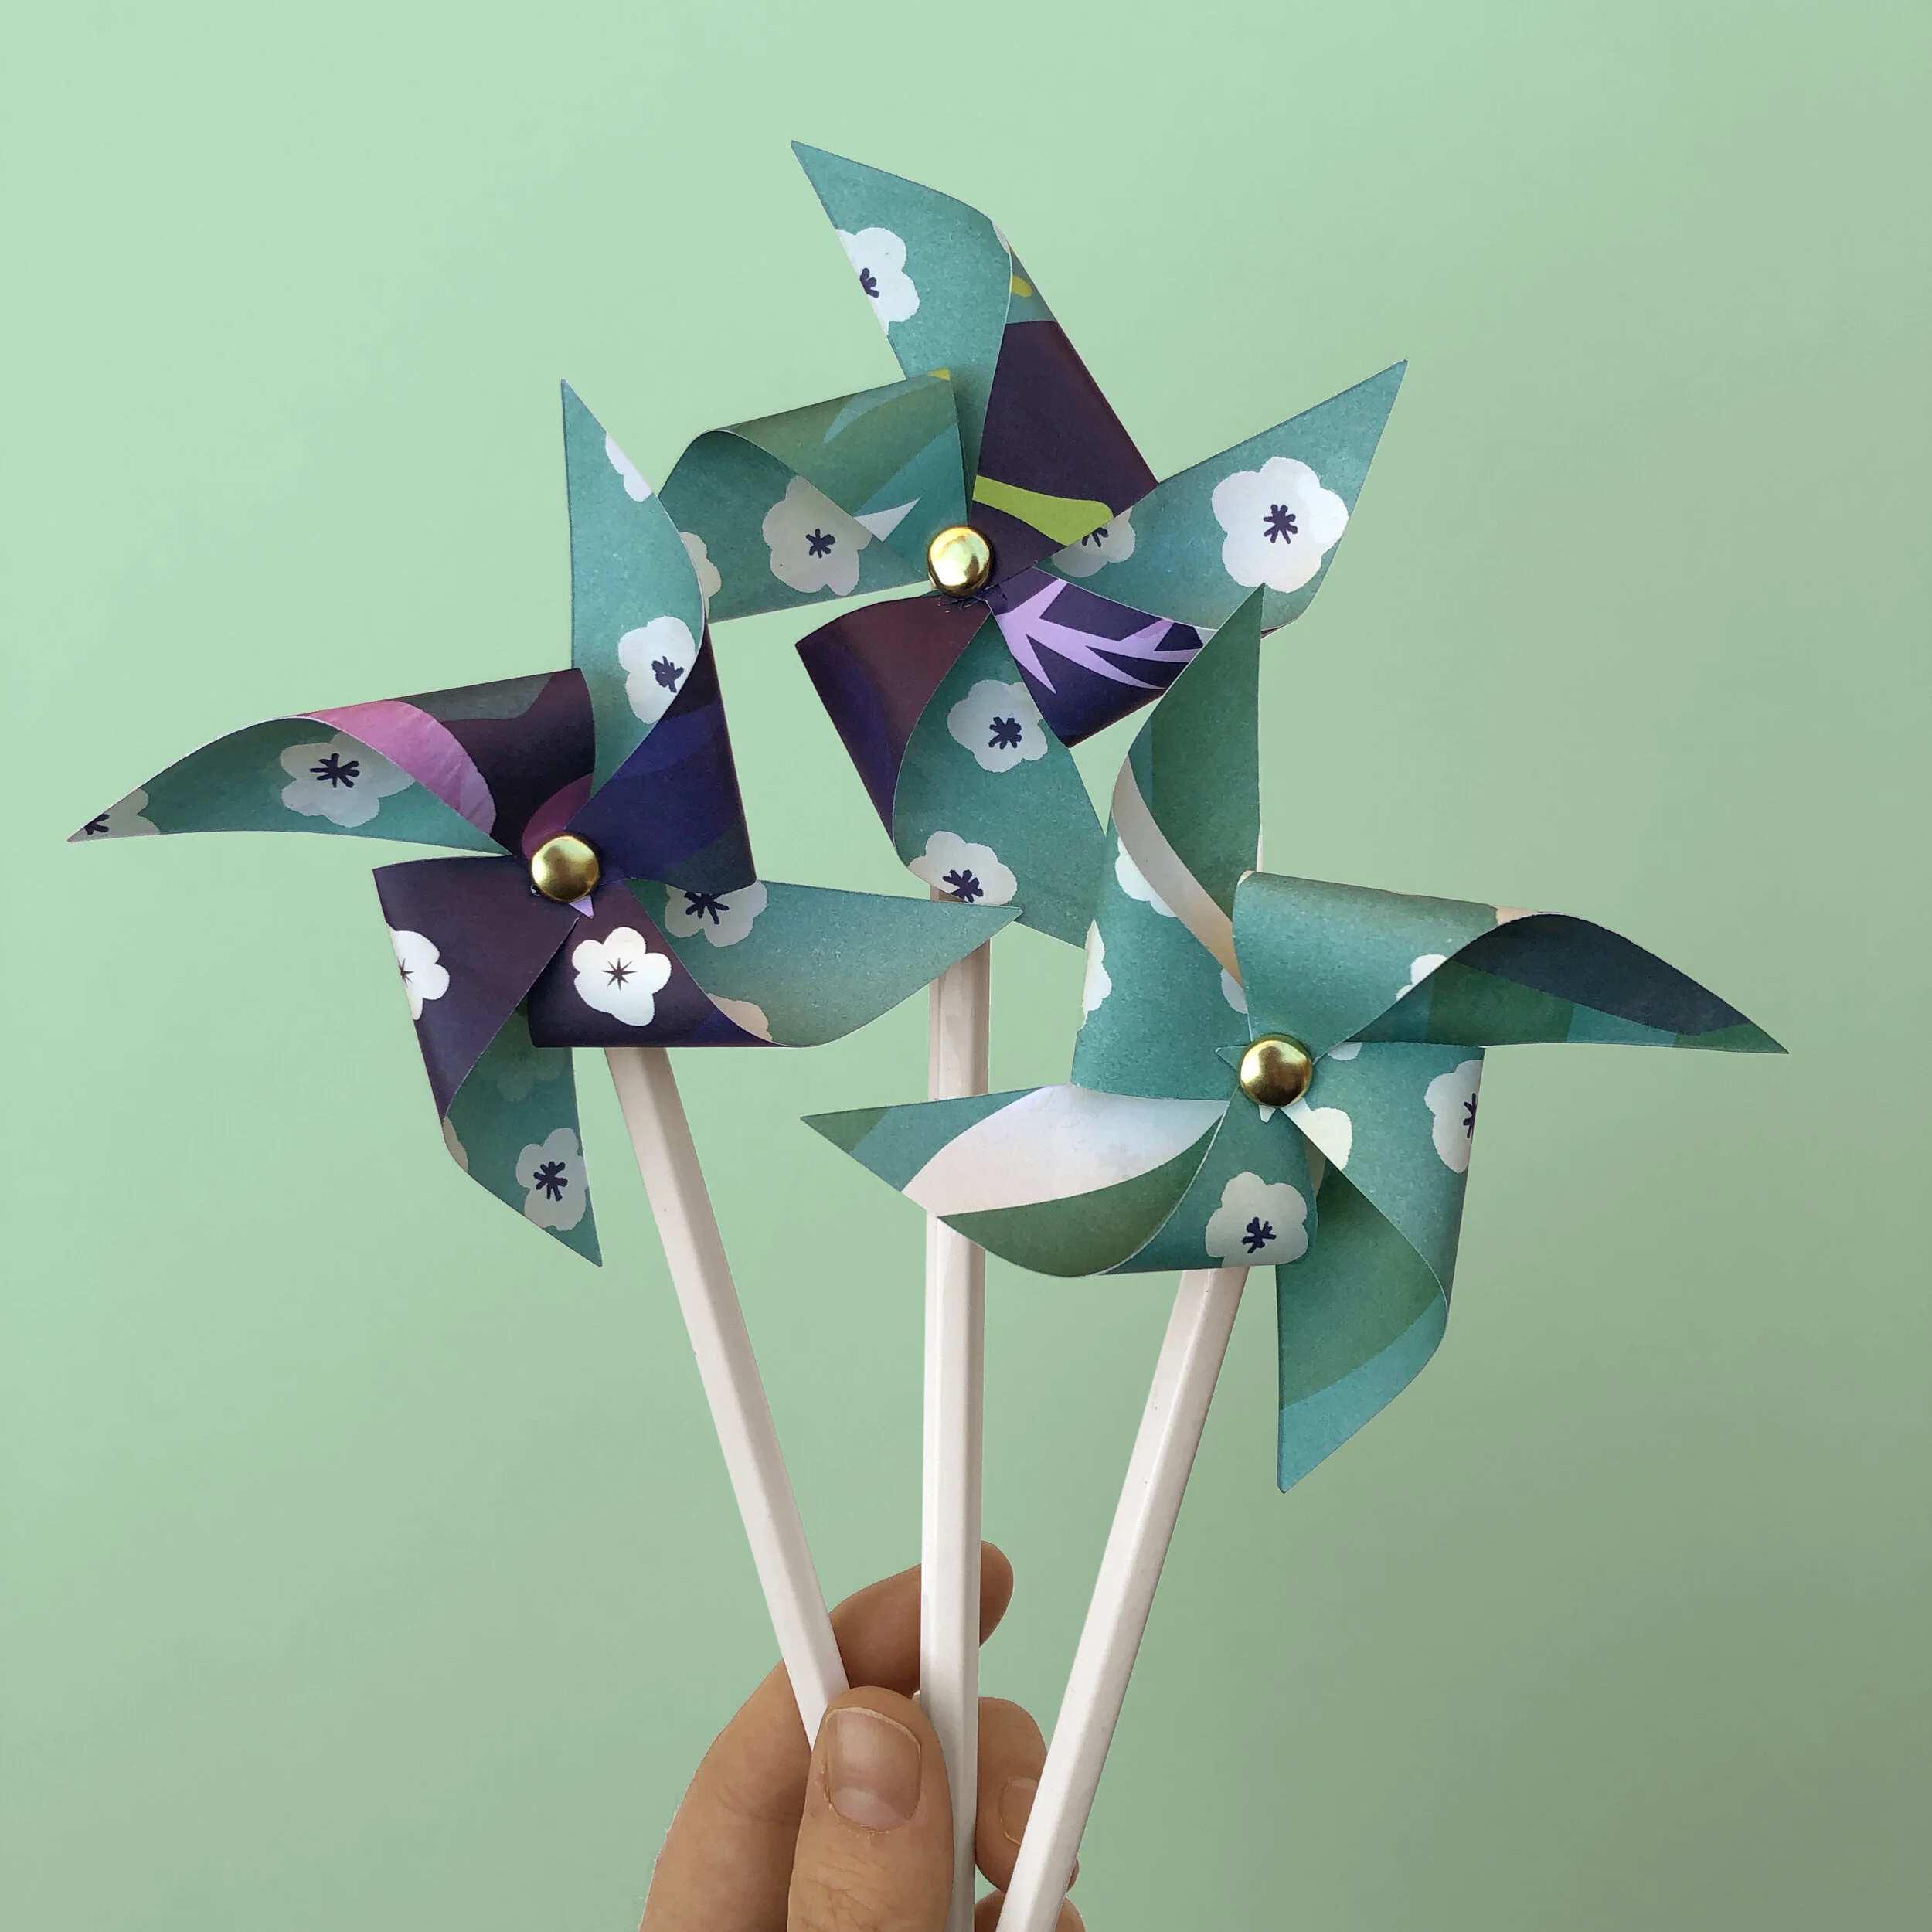
Spring Pinwheels
Who needs a craft project to entertain their kiddos...or heck, even the adults?!
Here’s an easy Pinwheel tutorial you can do with things you already have at home.
Here’s what you’ll need:
– Squares of double-sided gift wrap or paper –OR– grab some white paper and color/paint both sides!
– Sticks of some kind (Pencils, wooden dowels, chopsticks, or straws will all work)
– Brads –OR– Beads and needle/thread –OR– Elmer’s and hot glue
– Scissors
– X-Acto knife (Pushpin could also work!)
– Elmer’s glue
– Optional: Hot glue
How to make it:

1. Cut squares out of your paper. We used 3x3” squares, but for smaller hands, a larger size might be more fun! If you’re using white paper, this is a good time to color your squares. Remember that both sides of the paper will show, so don’t forget to color the backside!
2. Fold your squares diagonally, corner to corner.

3. Cut along the crease you’ve made towards the center, staying at least 0.25” away from the center (more if you’re making larger pinwheels).

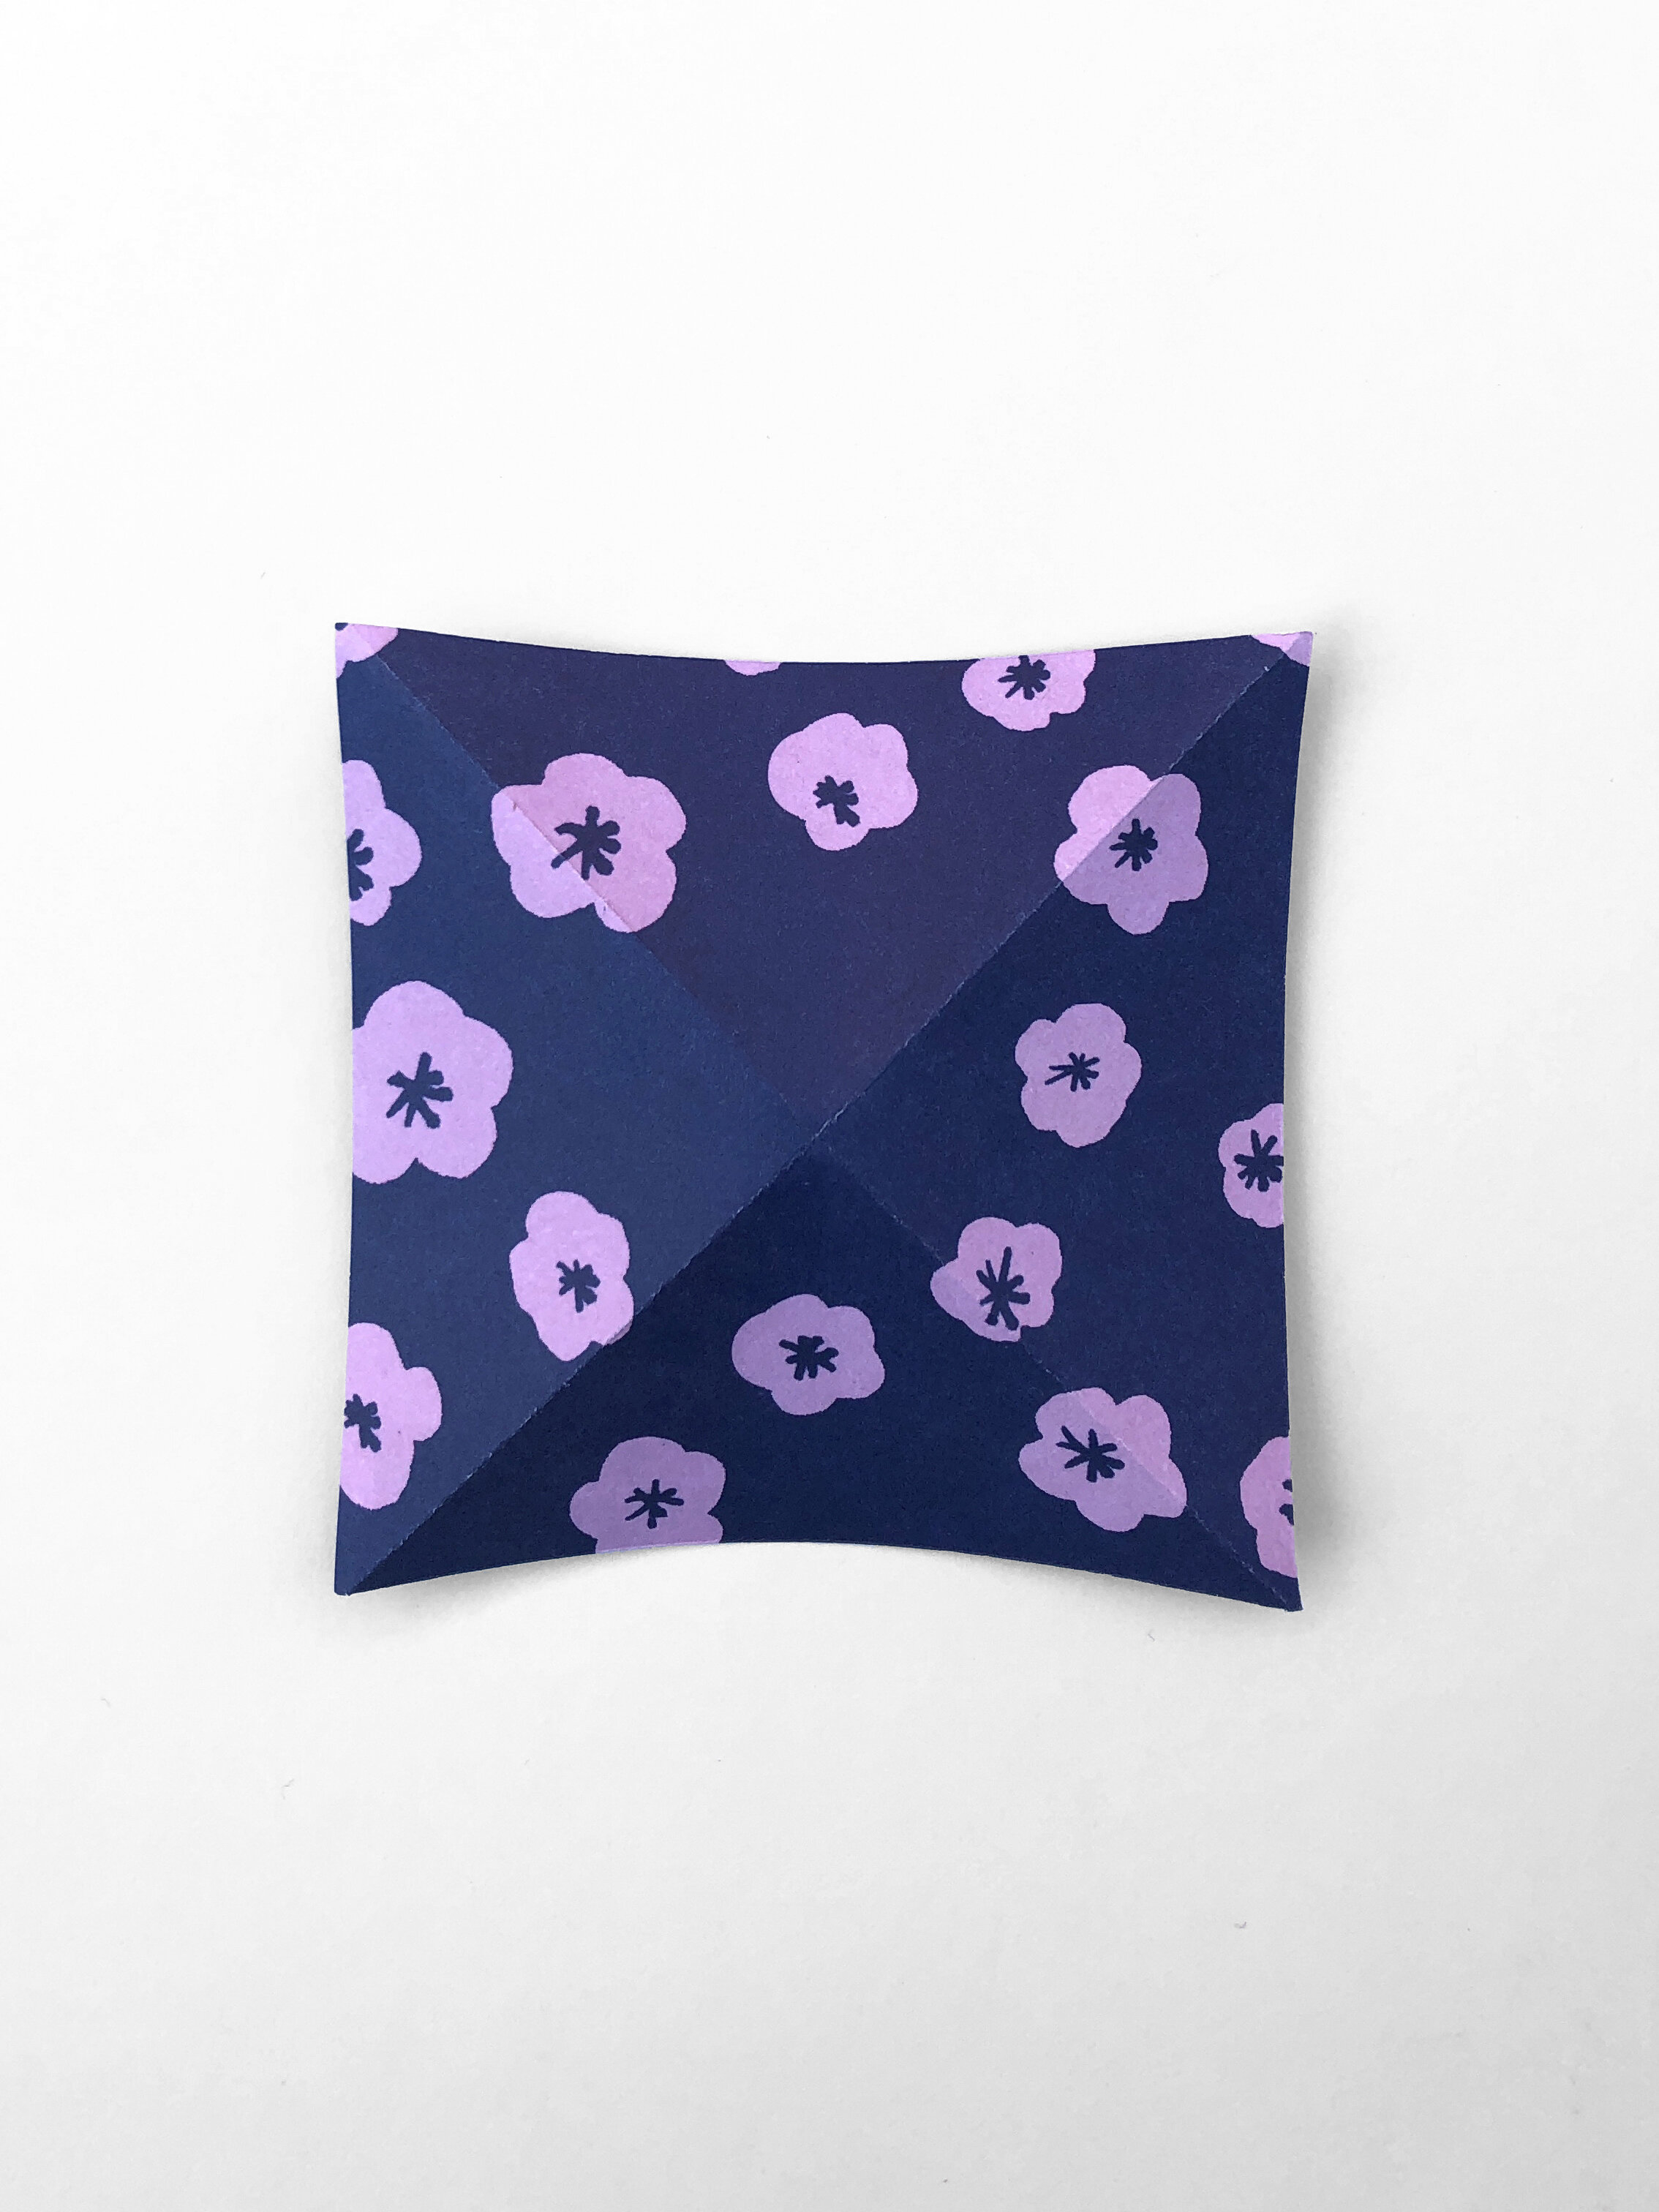
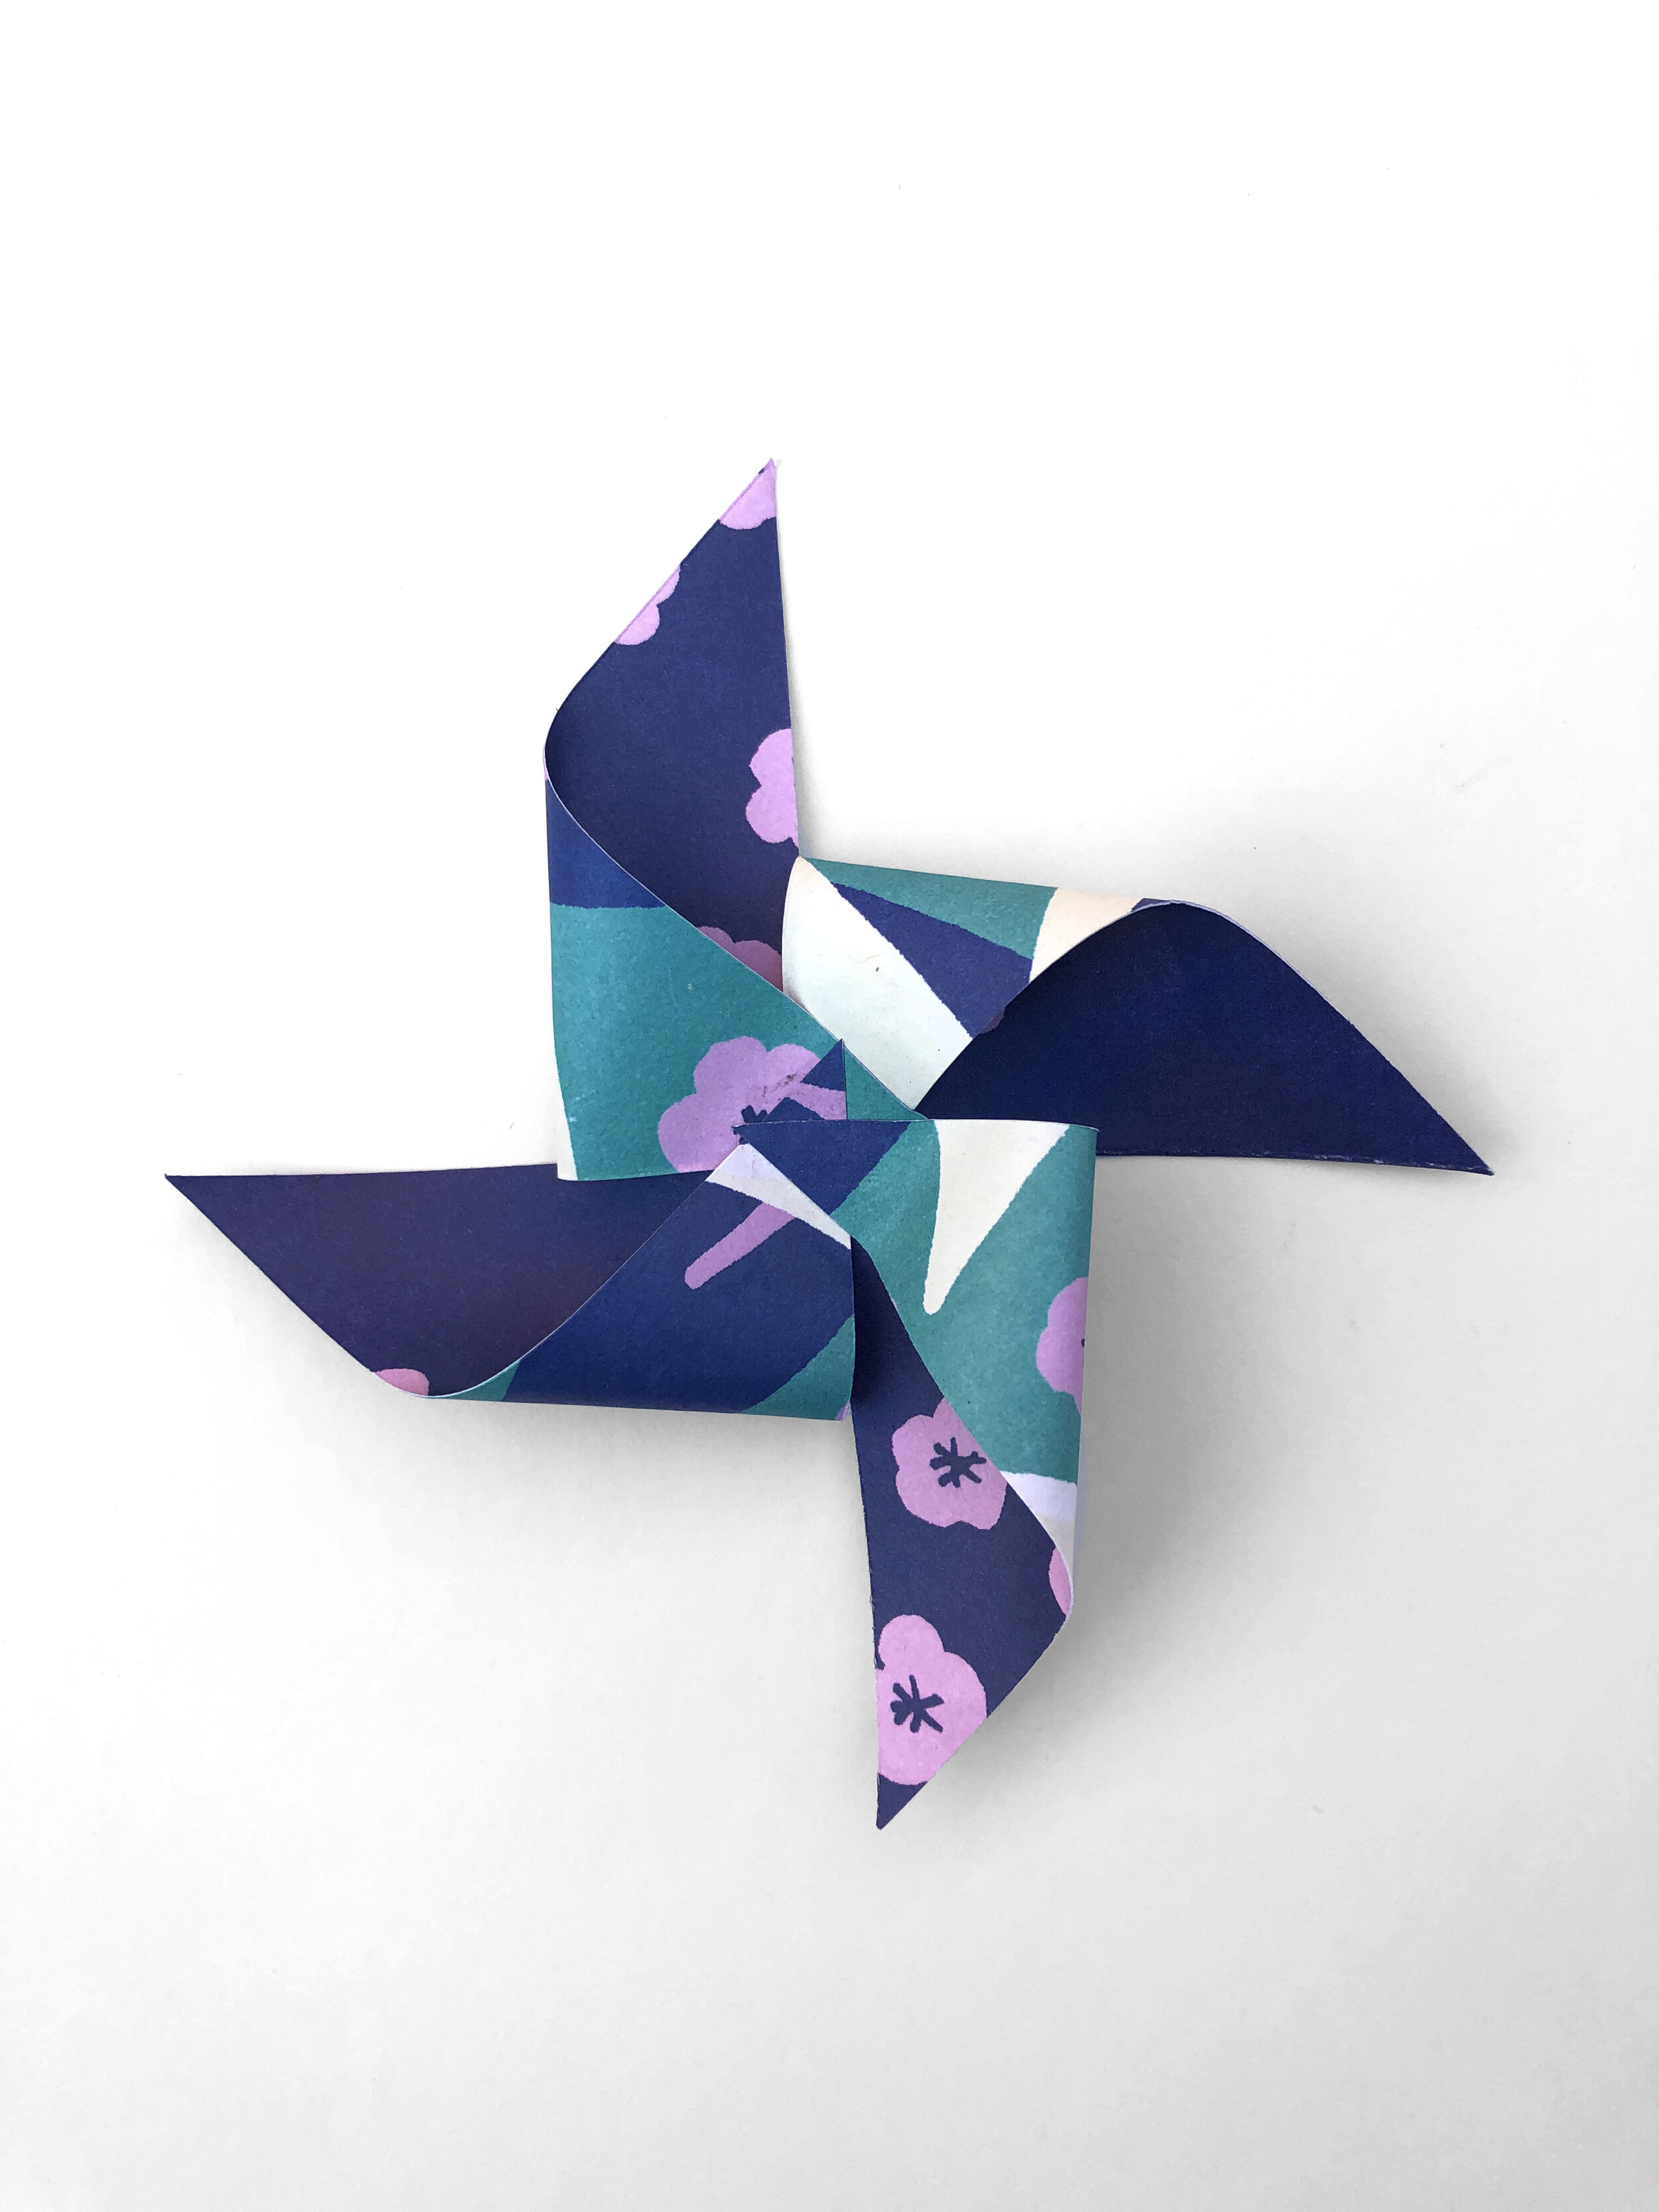
4. Fold every other point towards the center so the points overlap, gluing them down as you go.


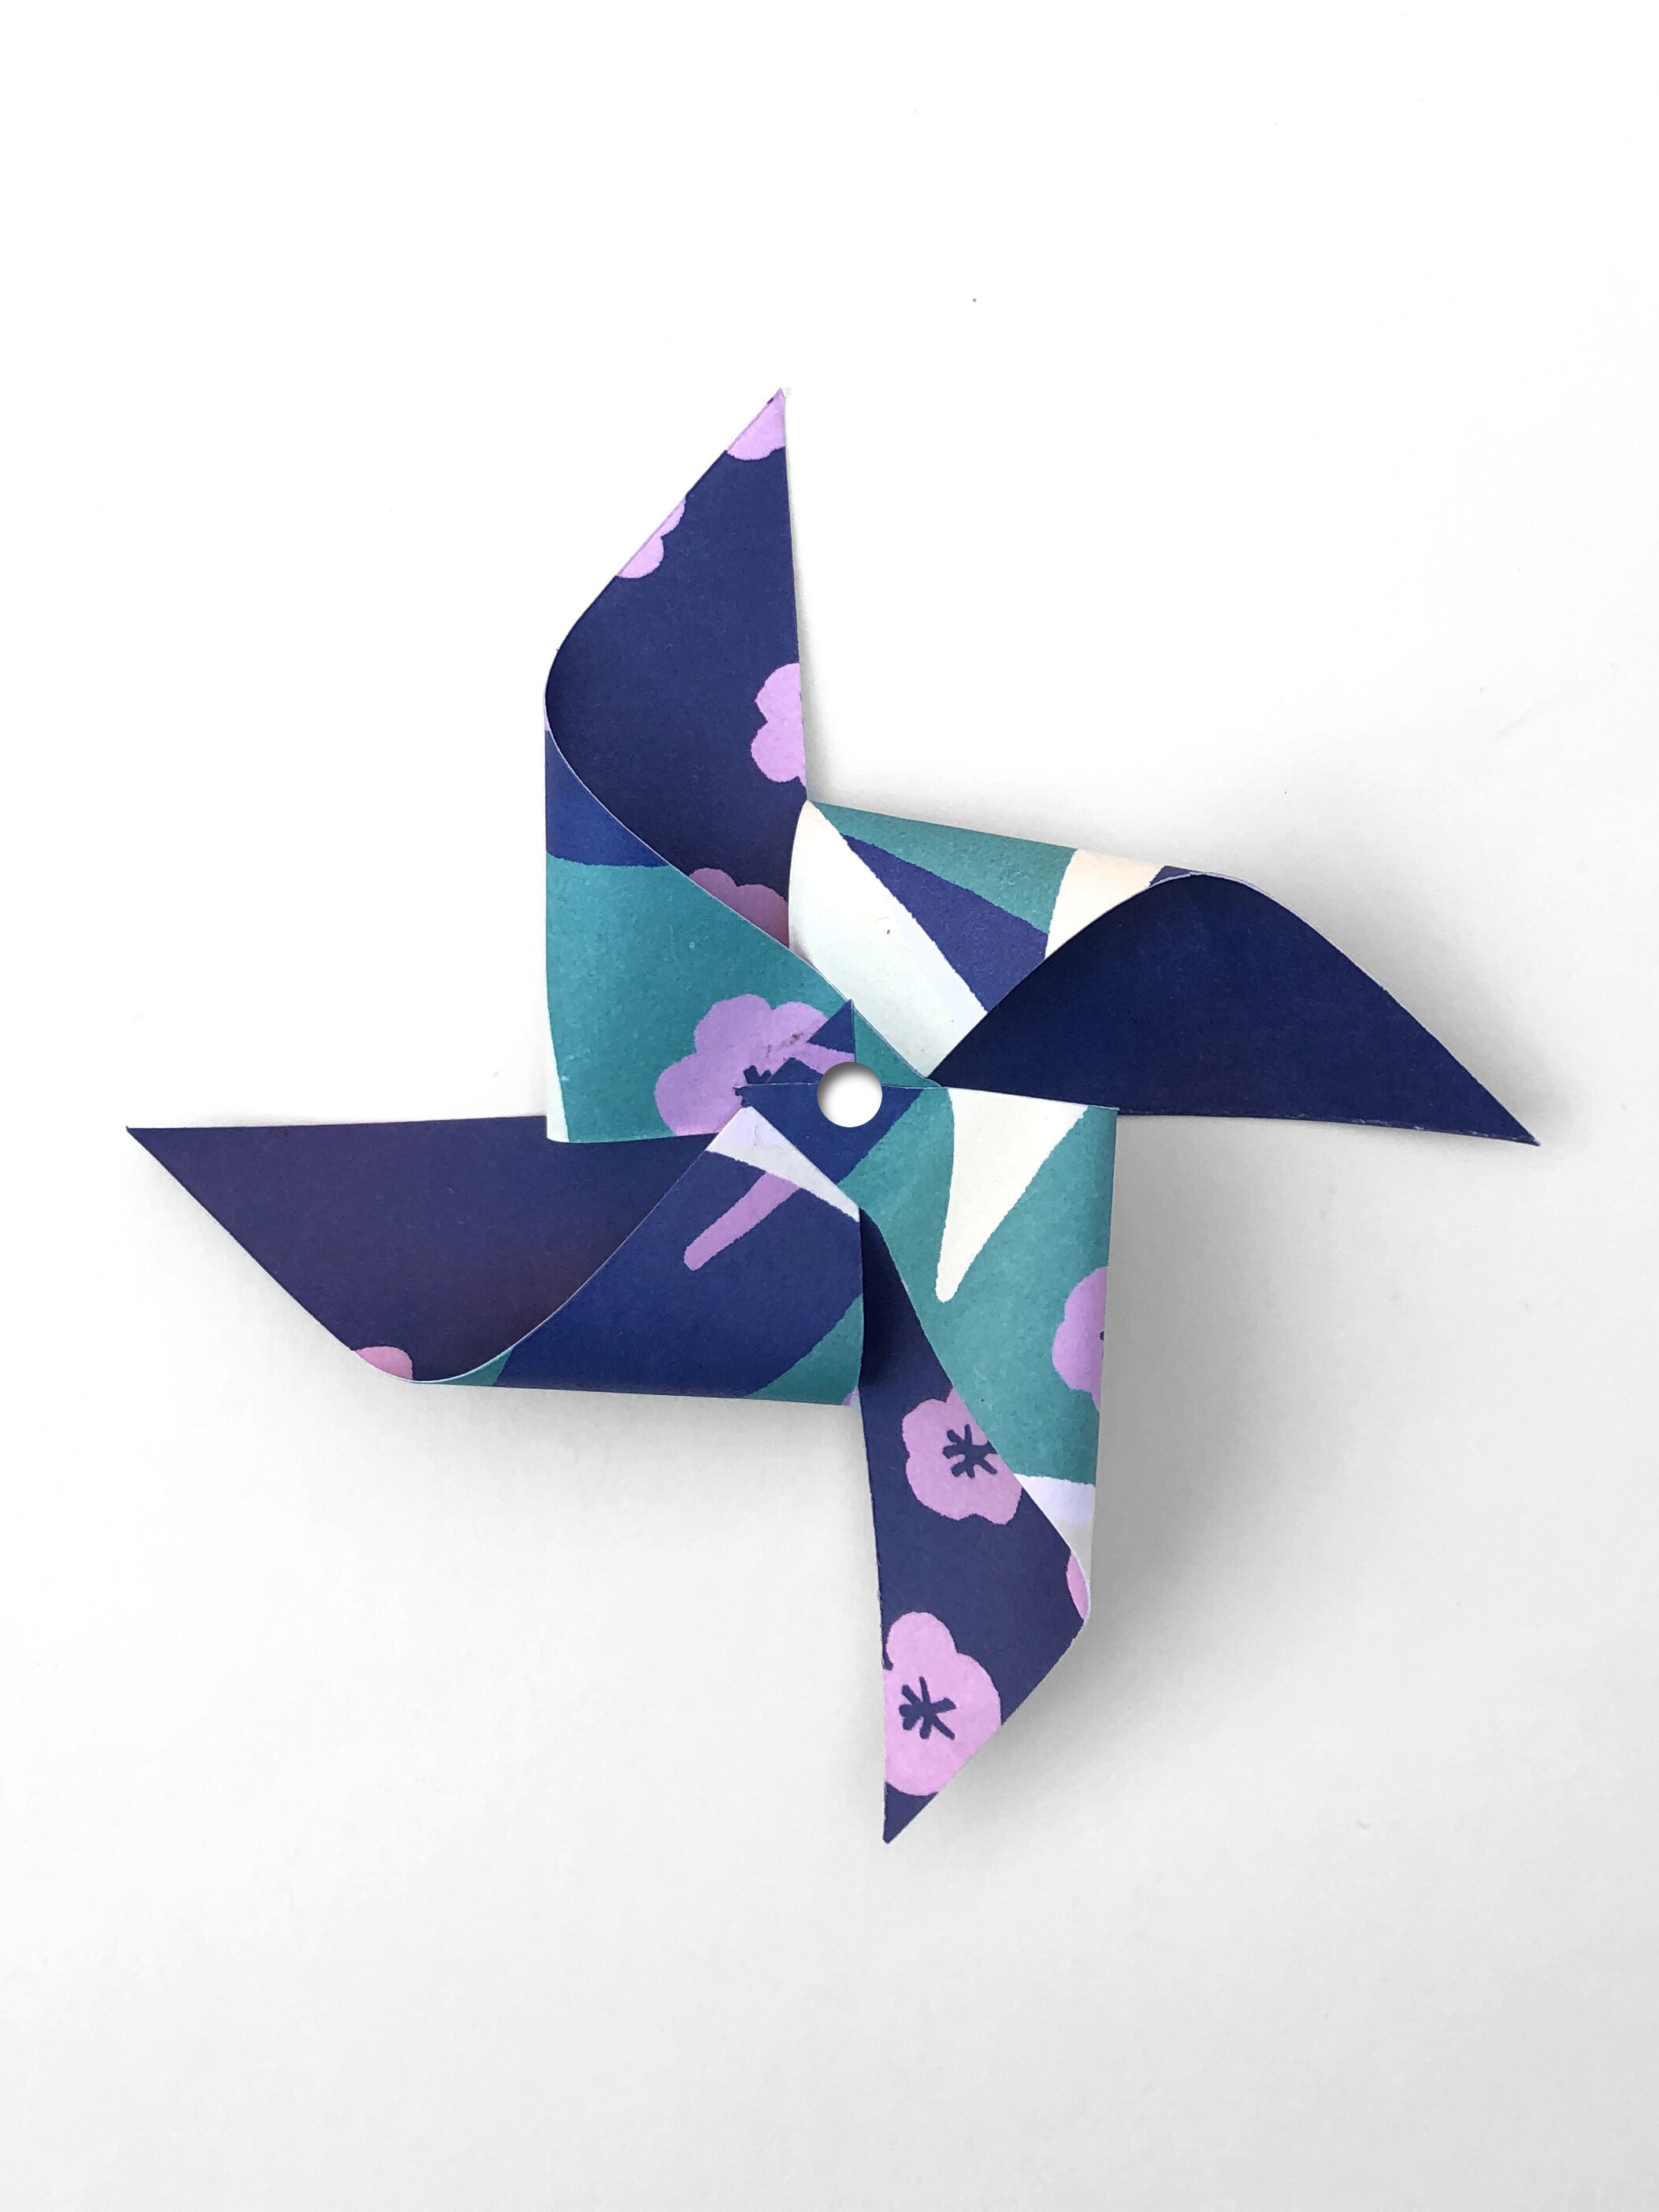
5. Use your X-Acto knife to cut a small hole where your points overlap at the center. We recommend making the hole large enough for your brad to slide in easily, but not so large that the head can fall through. No X-Acto? Use a pushpin to make a hole large enough for your brad/string, and twist the brad to make sure it’s loose enough to spin.
ALTERNATIVE: No brad? Thread your needle and thread from the back side of your pinwheel, through all of the points, to the front. Add your bead, then thread it back the way you came, and tie a knot. Don’t have either of those things? Glue all of your points together like in Step 4, and hot glue a bead or gem to the center of your pinwheel just for fun!

6. If you’re using a pencil, use your X-Acto, cut a slit through your pencil eraser just tall enough for the legs of your brad. Be careful not to cut from the top, as this is what holds the pinwheel in place. Also, just be careful – X-Acto knifes can be dangerous.
ALTERNATIVE: If you’re not using a pencil, you will put your brad directly into the pinwheel, and then attach your pinwheel to your stick of choice by folding the brad's arms around it, tying your thread around it, or hot gluing. Adding a little hot glue to secure your pinwheel in place on the stick can never hurt!

7. Push your brad through the slit you’ve made, and bend open the arms to secure it.
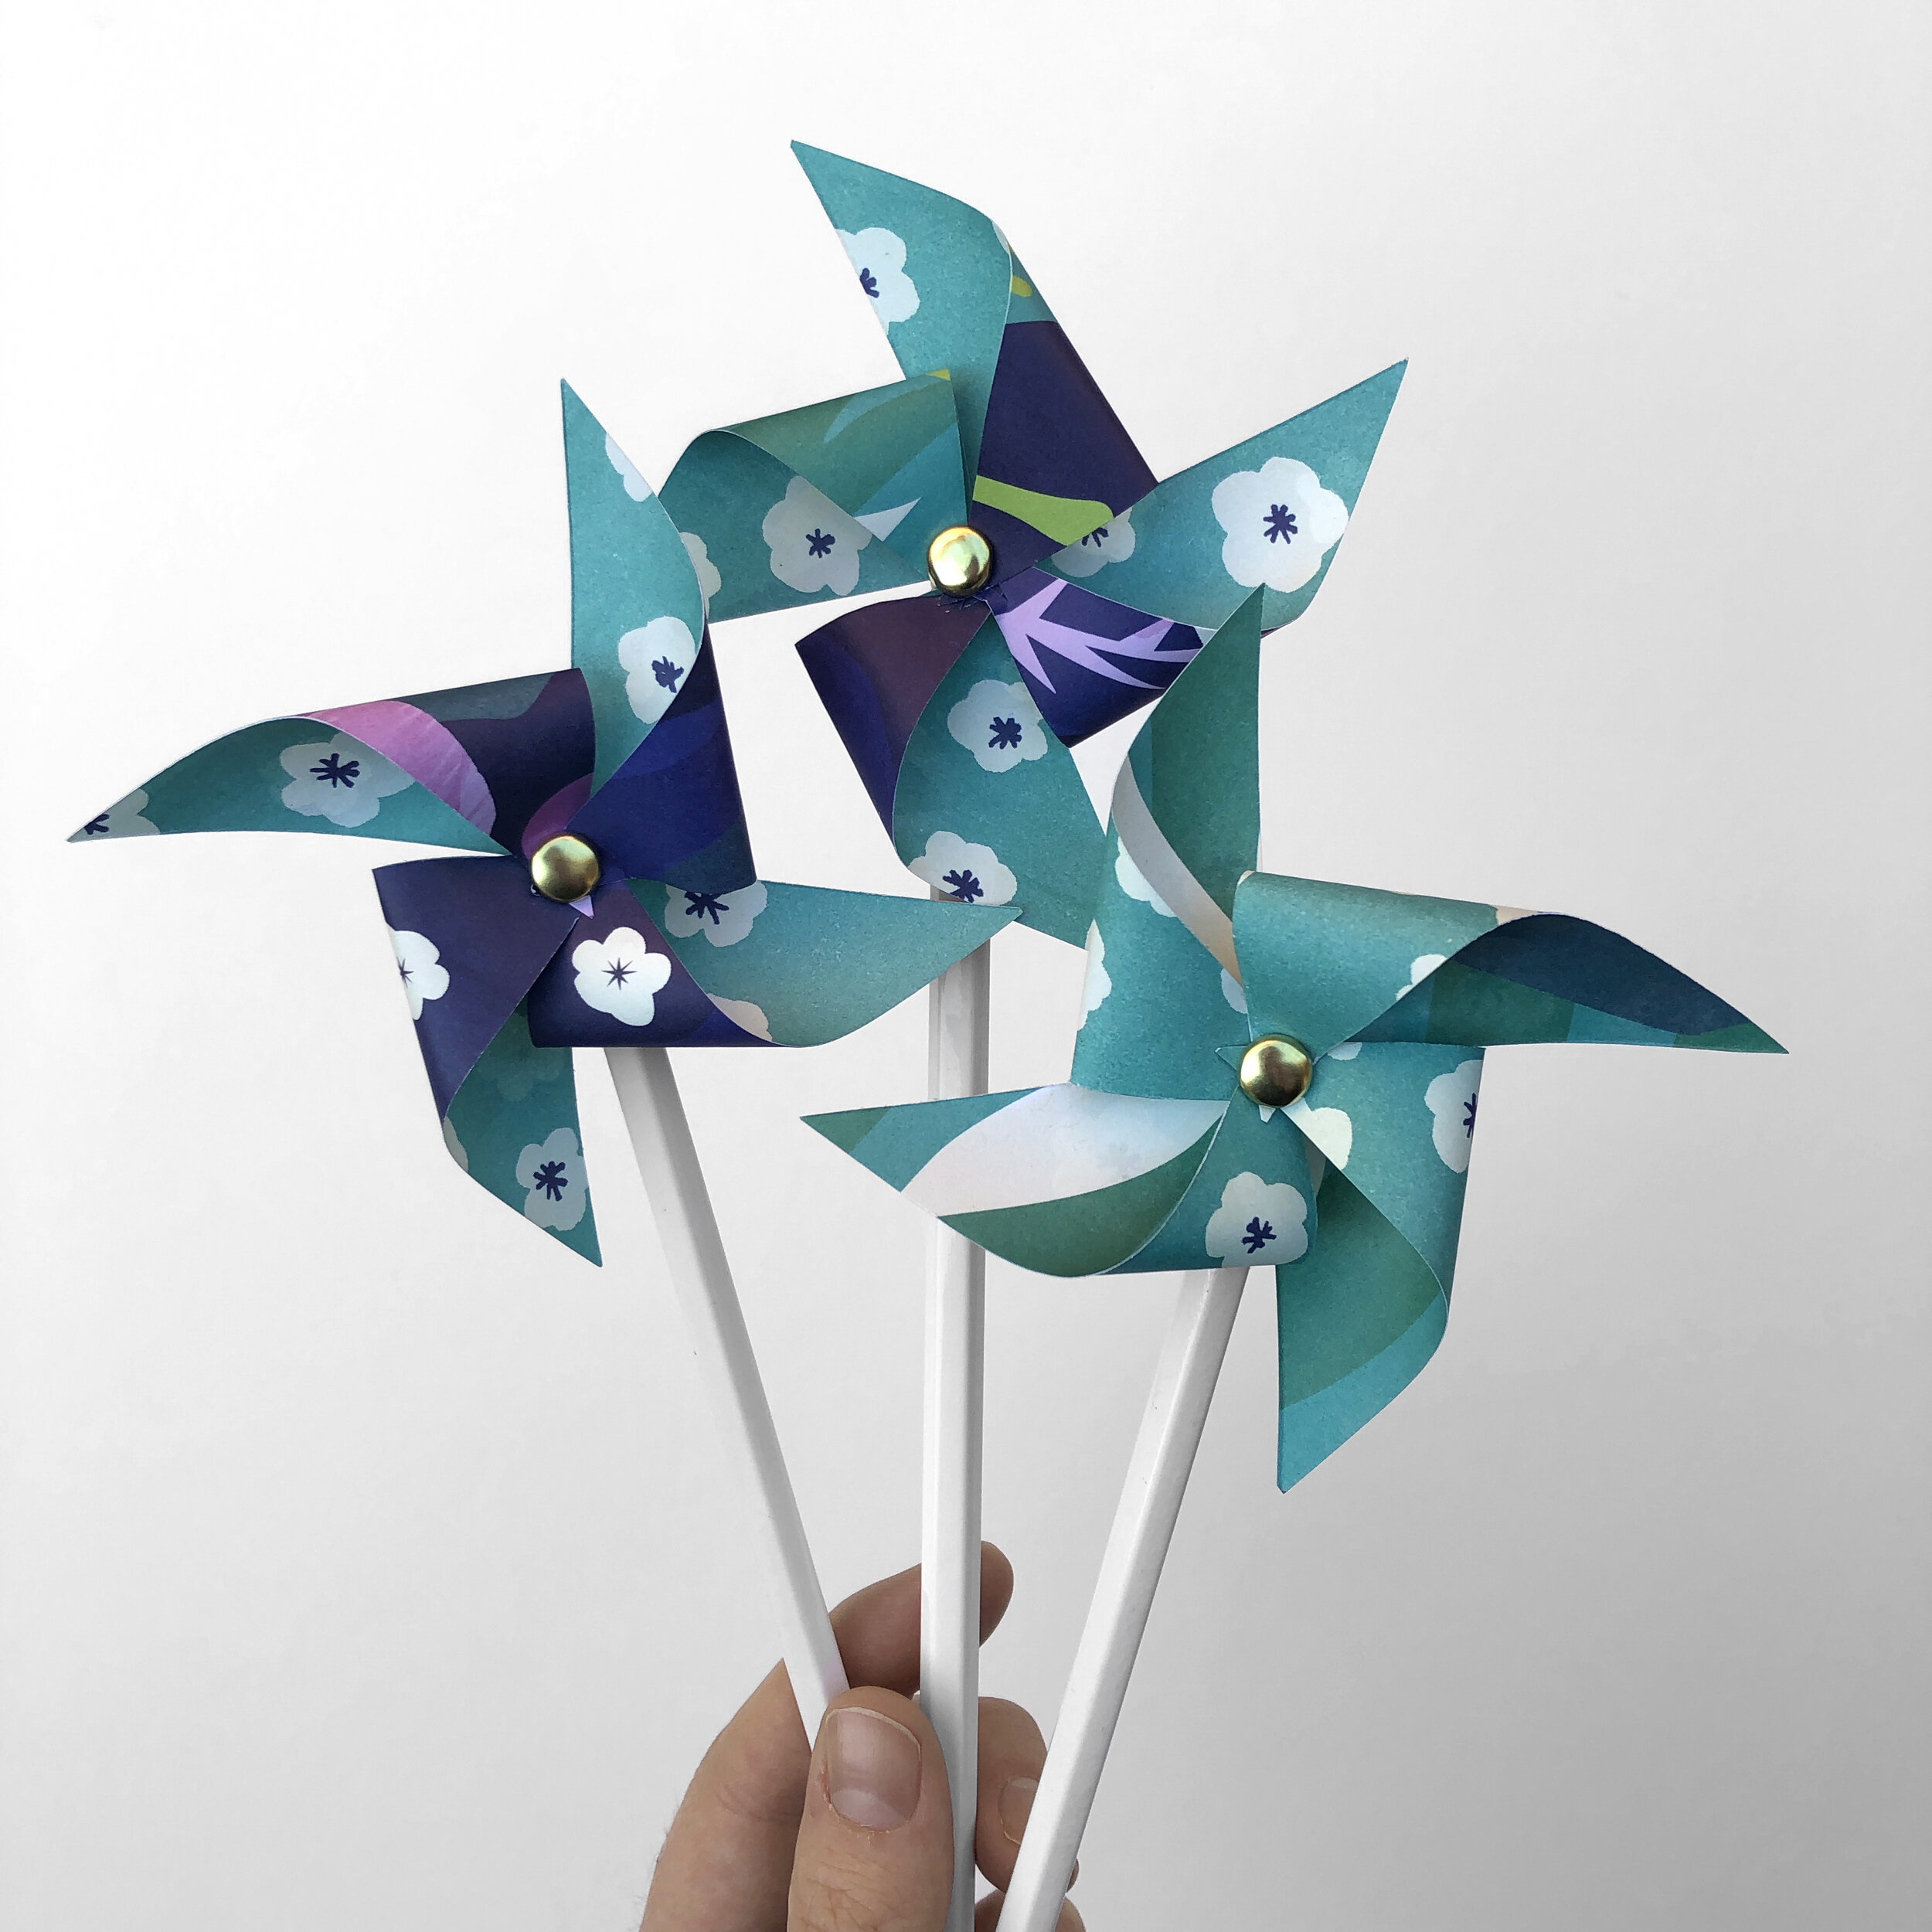
TA DA…a beautiful pinwheel! We can see these pinwheels brightening up any space, becoming the source of your latest magic powers, or making themselves at home in your flower garden.
If you’re looking for more creative fun to keep yourselves busy – here are a few of our favorites:
@carsonellis
Carson is hosting a Quarantine Art Club where you can find fun drawing assignments on her Instagram page.
@facethefoliage
Justina Blakeny started a creative project called “Face the Foliage” where she creates portraits out of leaves and flowers and invites us all to submit our faces to be featured.
@wendymac
Wendy has been teaching a drawing class for kids every M-F at 10am on Instagram Live! The classes stay up on her profile for 24 hours, so you can enjoy them at any time during that period.
We can’t wait to see what you create! Tag us on instagram @marchpartygoods or share with us by email at hello@marchpartygoods.com